Thursday, October 24, 2013

A self taught cook

    On May 10, 2010, I began my cooking blog journey and it is amazing to look back and see how my cooking skills have matured.  Three years ago, I didn’t deter away from a recipe and I followed it to a tee.  Today I don’t normally use recipes and I make up most of what is cooked in our kitchen.  It is either a VERY loosely adapted recipe or it is made up completely from what I have on hand.  I have learned that once you understand the basic techniques, such as roasting vegetables or browning a roast, and learn how to truly develop flavors your cooking will go from amateur to Ina Garten.  Here are a few tips to becoming a self-taught cook:


  1. Use Salt.  Proper seasoning can make the difference between a superb meal and an average meal.  Use a good quality salt such as sea salt or kosher salt, but NEVER use cheap iodized table salt.  Learn how much salt certain dishes need.  I normally use a ½ - ¾ of teaspoon of sea salt per pound of vegetables or 3 teaspoons per pound of rice.  Always season each layer of the meal and taste and adjust the seasoning once the final dish is complete.  Remember, you can always add more salt but you cannot take it back out!
  2. Fat equals flavor.  Don’t be afraid to use fat when you cook!  Our bodies actually need fat and it helps keep us full longer.  Forget boneless skinless chicken and boneless pork chops.  They normally don’t carry much flavor and end up tasting dry.  Learn to cook bone-in skin on meat.  You will save money and your food will taste better.  Embrace healthy fats when preparing vegetables or grains.  I normally use a tablespoon of olive oil or coconut oil per pound of vegetables.  Fat helps caramelize and concentrate flavor.
  3. Cook with aromatics: onions, garlic, carrots, celery and herbs.  Onions, garlic and herbs go into practically every dish I make.  Carrots and celery are often added to grains, beans, and other dishes where I would like to increase the vegetable content or stretch the dish to feed a few more people.  Do not worry about picky taste buds.  If cooked properly, the flavor will meld into one.  My husband hates carrots and celery, but he never notices if I add it to soup, a pot of beans, or a rice pilaf.  
  4. Never buy instant anything.  Rice, oats, potatoes, grits, coffee, etc. all taste better in their real form.  Although it may take longer to prepare, it will be well worth your time and it will save you money.  There is no comparison between instant rice and regular rice or instant potatoes and real potatoes.  If you are always short on time, try to plan ahead.  Brown rice takes about an hour to cook and you may not have a full hour to get dinner on the table.  Cook your rice the day before, while you are preparing dinner and eating.   
  5. Use canned foods sparingly.  The only canned foods I purchase are Muir Glen tomatoes, Muir Glen tomato paste, and green beans.  Canned tomatoes are used mainly for marinara sauce and soup, while tomato paste is used primarily in meatloaves or to thicken sauces.  I have tested many brands and in my opinion Muir Glen tomatoes are the best you can buy.  My husband loves southern, boiled to death, canned green beans.  I always purchase an organic variety and we eat them very rarely.  
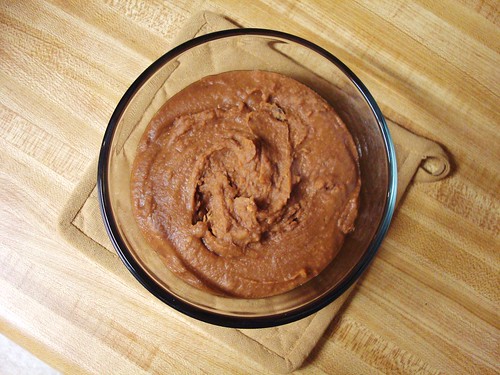
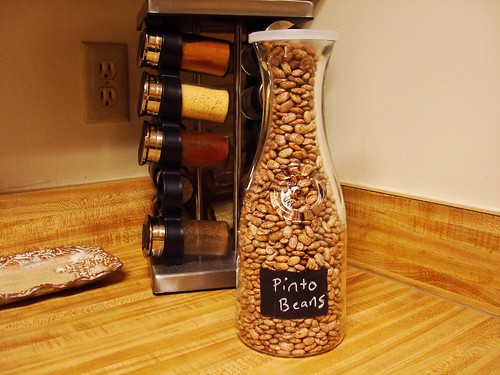
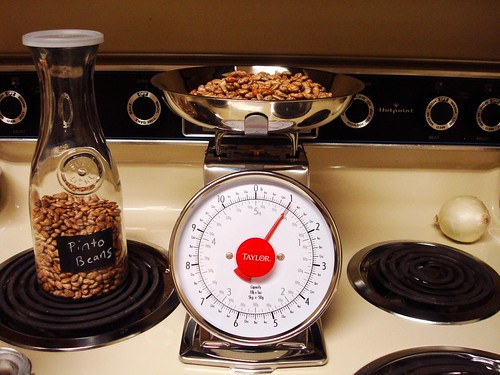
  6. Cook with dried beans.  When given the option between using canned beans or dried beans, always use the latter.  Dried beans are superior to canned beans because they are more flavorful, cheaper, and easier to prepare, so do not be afraid. This leads me to point number seven…
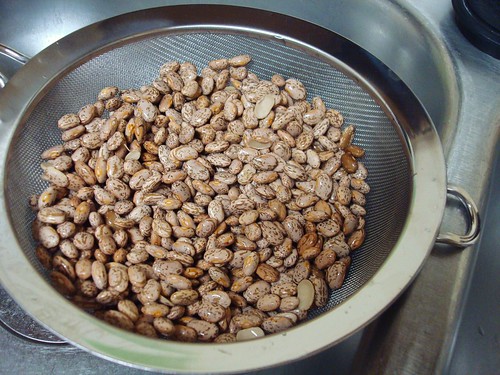
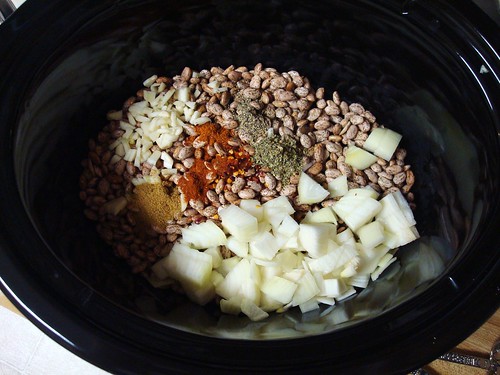
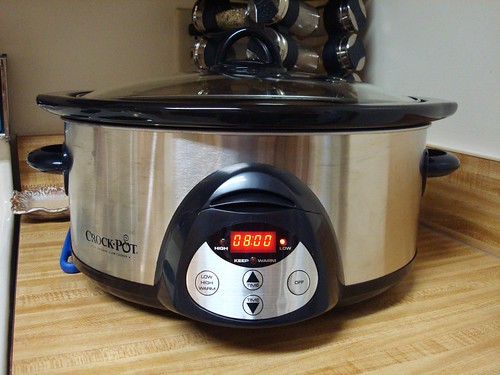
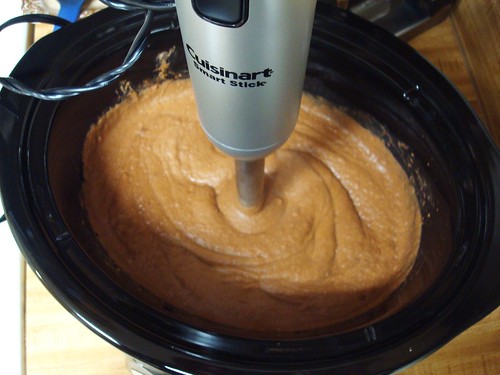
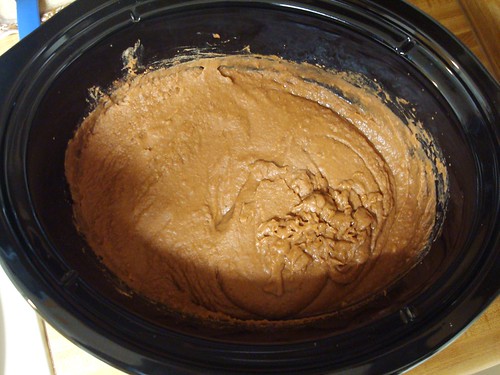
  7. Learn to love your slow cooker.  The slow cooker is the master of dried beans - no soaking required.  Beans prepared plain (just beans) can be tossed in, covered with water and cooked on high for 2 ½ to 3 hours.  For a 
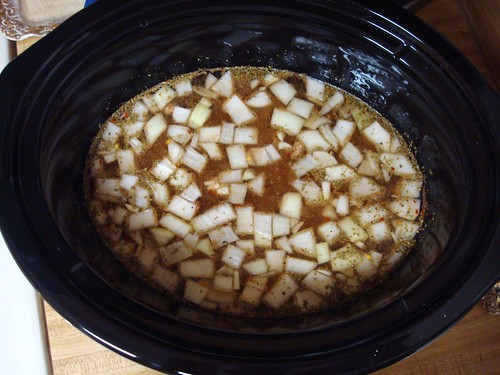
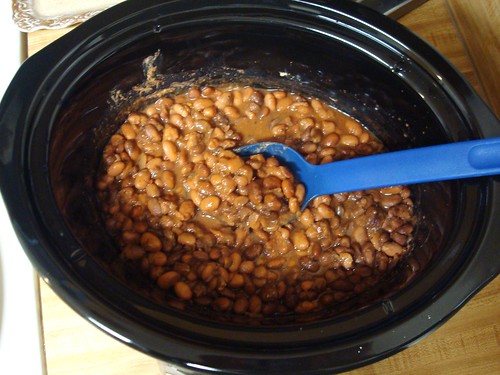
big pot of beans to come home to for supper (seasoned and ready to eat), toss in a bag of beans, 5 ½ cups of water, aromatics (see point #3), fat (see point #2), and cover.  Cook on low for 6 hours.  It will stay on warm until you arrive home from work, which will finish cooking the beans without turning them to mush.  Remember that slow cookers are not just for beans and can be used to make marinara sauce, soup, pot roast, applesauce, and much more.  
  8. Steam in the bag vegetables are gross, especially the ones covered in sauce.  Let’s be honest, steamed vegetables are not very good and normally taste like watery mush.  All vegetables taste much better if they are roasted or sauteed in salt and fat (see points #1 & #2).  If you are short on time, saute your vegetables.  This should take anywhere from 10 to 15 minutes.  If you have 30 to 45 minutes, toss the vegetables in oil and salt, spread on a baking sheet, and roast at 400 degrees.  Your vegetables will taste much better and your taste buds will thank you.  
  9. Recipes proclaiming to take 15, 20, or 30 minutes will taste like they took 15, 20, or 30 minutes.  I am not a big believer in a meal that can be prepared from scratch in 30 minutes, but I do believe that dinner can be on the table in 30 minutes if you plan ahead.  Flavors need time to develop and to sit and mingle among one another.  If you are serving a soup or casserole, make it the day before you plan to eat it.  While you are waiting on one meal to reheat, chop vegetables or do other meal preparation for the next night.  Over the weekend, make items that can easily be frozen (soups, meatballs, muffins, waffles, marinara sauce, chicken stock).  Pulling items out of the freezer is a time saver, because most of the work has already been done for you.
  10. Don’t be afraid to experiment or improvise.  If you don’t have every single ingredient a recipe lists, be open to substituting the items that you do have in your pantry or the items that are most affordable for your budget.  I have never purchased a leek, but this has not stopped me from making a recipe that uses one.  I often substitute onions for leeks or sweet potatoes for regular potatoes.  Vinegar is still vinegar even if it is not white champagne vinegar.  It is okay to use the regular old white distilled vinegar or old fashioned apple cider vinegar.  Use whatever spices or herbs you do have in your cabinet or growing outside in your garden.  Have fun basking in the deliciousness of your creativity!  

Saturday, October 12, 2013

Refried Beans


DSC08179


     J.T. loves Mexican food, but I only prefer to eat it occasionally and when it is prepared in my own kitchen.  I look back and laugh about our first few months of dating.  I knew J.T. loved hot and spicy Mexican flavored foods, so I threw hot sauce, chili powder, cumin and paprika into practically every dish I made.  He loved it but I grew tired of all that spice!  About a month ago, we celebrated his 29th birthday (for the 7th time J) and he requested homemade Mexican food.  I settled on a menu of Beef Tacos with Refried Beans.  In my own health conscious brain, I decided the refried beans would count as our vegetable for the evening.  Many people associate Mexican food as cheap food.  While it is one of the cheaper meals to purchase at a restaurant, it can be quite pricy to prepare at home.  All the fresh ingredients – tomatoes, lettuce, peppers, onions, avocados, etc. – can really add up at the grocery store.  Beans, refried beans to be exact, are always an economical choice in our kitchen.  I often tell J.T. we would starve to death if it were not for beans. 


A little side note – I actually photographed and edited the photos listed below this past February.  I photographed a lot before I began working full time, because I knew I would not be able to continue to keep up with the blog.  It has taken me this long to perfect my refried bean recipe.  My other big project right now is my cookbook.  It may never become published, but I love working on it.  As Julia Child would say “cook bookery” is difficult business.  The countless hours it takes to test recipes and write are not for the weary, but I love it and hope to make a career from it one day.  I can always dream…


DSC07077 DSC07081 DSC08162 DSC08166 DSC08168 DSC08170 DSC08171 DSC08173 DSC08176


Refried Beans

Serves 6
slow cooker

Ingredients
  • 1 pound pinto beans, rinsed and drained
  • 1 medium onion, chopped
  • 6 garlic cloves, minced
  • 2 jalapeno peppers, seeded and finely diced
  • 3 tablespoons extra virgin olive oil
  • 1 tablespoon chili powder
  • 1 tablespoon cumin
  • 1 tablespoon paprika
  • 3 teaspoons celtic sea salt
  • 1 teaspoon coarse ground black pepper
  • 5 ½ cups water


Directions
  1. Combine the pinto beans, onion, garlic, jalapeno peppers, olive oil, chili powder, cumin, paprika, sea salt, pepper, and water in a slow cooker.  Cover and cook on low for 8 hours.
  2. Use an immersion blender to puree the beans before serving.  


Make ahead:  After pureeing, transfer the beans to a large casserole dish.  Reheat, uncovered, in a 350 degree oven for 30 minutes.  The beans can also be frozen.  Cool completely overnight in the refrigerator before transferring to freezer safe containers.  Freeze up to 3 months. 

Saturday, October 5, 2013

Waffles

     I haven't had time to blog in quite a while and I truly miss it. People often ask me if I still cook and the answer to this question is a resounding yes. Most days, I cannot not wait to get home from work and into the kitchen. I spend my Saturday mornings in the kitchen, often waking up way too early because I am busting to get started. It is a tiring job, but yet so fulfilling.

     If you know my personality, then you know I am a creature of routine. I HATE change and disorganization. Everything has a place and everything goes a certain way. My lists and excel spreadsheets would drive most people mad, but it is how I keep track of life. I take the same approach towards meal planning, grocery lists, budgets, etc. We are still following the $60.00 a week grocery budget. Recently, I started planning our meals in 2 week blocks. J.T. goes to the grocery store on Friday, as soon as school lets out. He does better at the store than I used to do, always coming in under budget. I am so grateful for his help. This leaves only the farmer's market to go to on Saturday mornings and we are doing this every other week as well.


     Waffles have become a weekly tradition at our house, peanut butter waffles to be exact. We always have peanut butter waffles and eggs on Friday night. I make the waffles and J.T. cooks the eggs because he is the egg master. It is an easy, fun meal that both of us look forward to each week. The meal is even better when the Braves are playing and they beat the Dodgers. I always make the waffles in advance and freeze them. This makes them easy to pull out, slather with peanut butter, top with another waffle, cut into quarters and pop in the oven - crisp and gooey peanut butter waffle sandwiches. The recipe listed below is for the waffles. Serve them with syrup or make the peanut butter waffle sandwiches. They are great both ways!


.


Ingredients
·         2 cups multi grain gluten free flour blend
·         1 ½ teaspoons baking powder
·         ¾ teaspoon baking soda
·         ½ teaspoon celtic sea salt
·         1 ¾ cups unsweetened almond milk, at room temperature
·          ½ cup coconut oil, plus more for greasing the waffle iron
·         1 tablespoon molasses
·         1 teaspoon vanilla
·         2 eggs, yolks and whites separated


Directions
1.      Place a small glass or stainless steel mixing bowl and two handheld mixer beaters into the freezer.
2.      In a medium bowl, whisk together the flour, baking powder, baking soda, and sea salt.  Set aside.  In a large liquid measuring cup, whisk together the almond milk, coconut oil, molasses, vanilla, and egg yolks.  Pour the wet ingredients into the dry ingredients and stir until just combined.  The batter should still be lumpy.
3.      Use a pastry brush to lightly grease a waffle iron with coconut oil.  Preheat the waffle iron to a medium high temperature.
4.      Remove the chilled bowl and beaters from the freezer.  Beat the egg whites on high speed, with a handheld electric mixer until soft peaks form.  Gently, fold the egg whites into the batter.
5.      Ladle the batter into the preheated waffle iron using a ½ cup measuring cup.  Cook each waffle according the waffle iron manufacturer’s instructions.  Keep warm in a 200 degree oven if serving immediately.


Make ahead:  In a single layer, place as many waffles as you can on a large baking sheet.  Freeze for 1 hour.  Remove the frozen waffles from the baking sheet and stack in freezer safe plastic bags.  Repeat process.  This freezing method helps the waffles retain their shape.  Freeze up to 3 months.  Reheat in 375 degree oven for 10 minutes.