Wednesday, December 18, 2013

Homemade Pop-Tarts

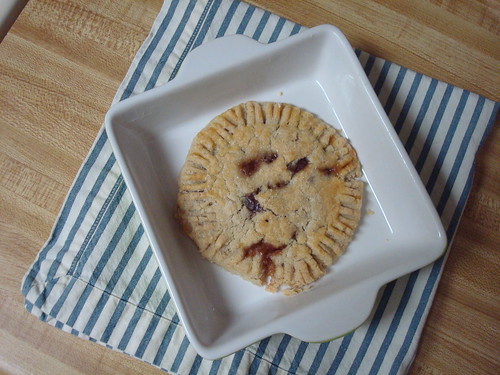
     I've had my eye on this recipe for almost a year.  Last year for Christmas, my brother and sister-in-law gave me this cookbook and I became obsessed with everything homemade.  Last Christmas was almost a year ago and 350 some odd days have passed where I hoped and waited for a pop-tart.  I was crazy to put it off for this long, but time, money, and life seemed to get in the way.  In my mind, pop-tarts are not vital for survival, but so many other groceries are actual necessities.  One Saturday I declared no more!  J.T. and I had just finished paying off a $40,000 student loan and I thought pop-tarts were the proper way to celebrate this financial accomplishment.  I sent J.T. to the grocery store and he purchased the $5.00 jar of organic strawberry preserves I needed to make my highly anticipated pop-tarts.  The pop-tarts were wonderful - better than I ever hoped or imagined.  Flaky, buttery, gooey strawberry filled bliss on a plate - gluten and dairy free.  


DSC08948


recipe adapted from The Homemade Pantry

Ingredients
  • 2 ¼ cups multi-grain flour blend, plus additional for rolling out dough
  • ½ teaspoon celtic sea salt
  • 1 cup coconut oil, chilled and diced into chunks
  • 2 teaspoons raw apple cider vinegar
  • 4 tablespoons cold water
  • 2 eggs, divided
  • 1 tablespoon room temperature water
  • 7 tablespoons organic strawberry preserves
  • pure cane sugar, for dusting


Directions
  1. In the bowl of mixer fitted with a whisk attachment, mix together the flour and salt on low speed for 2 minutes.  Drop the chilled coconut oil chunks into the flour and use a spoon to toss the flour and oil together.  In a small liquid measuring cup, whisk together 1 egg, the vinegar, and cold water.  Place both the flour mixture and egg mixture into the freezer for 10 minutes.  
  2. Remove the flour mixture from the freezer and assemble the mixer with a paddle attachment.  Turn the mixer on low speed and beat the flour and oil until it begins to resemble a coarse meal.  Remove the liquid ingredients from the freezer and whisk again.  Slowly pour the wet ingredients into the mixing bowl.  Mix on low until the dough comes together, forming a large ball (you will still see large white chunks of coconut oil in the dough).  Dump the dough onto a board and divide in half.  Shape each half into disks and wrap each disk in plastic wrap.  Chill in the refrigerator for 2 hours.  
  3. Whisk together 1 egg and 1 tablespoon of water and set aside.  Line a large sheet pan with parchment paper.  Remove the dough from the refrigerator and flour a dough board or the countertop.  Flour 1 disk and gently roll out the dough into a large circle.  If the dough begins to crumble, continue working with it until it softens, applying flour as needed to keep it from sticking.  Use a large biscuit cutter and cut 7 rounds, placing the rounds on the prepared baking sheet.  Brush the dough with the prepared egg wash and spoon 1 tablespoon of preserves into the center of each round.  
  4. While you are rolling out the remaining dough disk, place the baking sheet into the freezer.  Roll out 7 more rounds.  Gently lay these rounds on top of the preserve filling.  Use a fork to seal the corners all the way around each pastry.  Poke each pastry three times, going down the center, and brush the tops and sealed edges with the egg wash.  Sprinkle with sugar.  Place the prepared pop-tarts back into the freezer for 10 minutes and preheat the oven to 375 degrees.  
  5. Bake for 24 minutes, or until golden brown.  Rest on the baking sheet for 1 hour before removing.


Make ahead:  Prepare the pop-tarts as instructed above and refrigerate or freeze.  If refrigerating, arrange the pop-tarts in one single layer.  To reheat, preheat the oven to 375 degrees and reheat for 5 minutes.  If freezing, arrange the pop-tarts on a large baking sheet, in one single layer.  Freeze for 1 hour.  Stack the frozen pop-tarts in a freezer safe plastic bag.  Reheat in a 375 degree oven for 10 minutes.  


Multi-Grain Flour Blend
Ingredients
  • 350 grams whole grain oat flour
  • 350 grams sweet white sorghum flour
  • 300 grams arrowroot starch


Directions
  1. Whisk together the oat flour, sorghum flour, and arrowroot starch.  Store in a large (5 pound capacity) container in the refrigerator.  Use in place of whole wheat flour or whole white wheat flour.  
Tuesday, December 17, 2013

Menu Plan, December 15 - 21

     Yesterday, I was off work for my birthday leave and it was a wonderful day.  As usual, I was little Miss Susie Homemaker and filled my day with baking, cleaning, laundry, and sewing.  In general, I spent my time doing things that I never have time to do during a normal week.  I  left time for a little relaxation, which included watching The Rachael Ray Show at 10:00 and my favorite Christmas movie of all time, Home Alone.  I managed to work in a small nap (accidentally) and enjoyed one of my favorite lunches - a toasted peanut butter and jelly sandwich.  All in all it was a great day and the first day I have had for myself since February 25.  Christmas break begins in 4 days!

Sunday
  • Shepherd's Pie
  • Green Beans
Monday
  • Black Bean Pizza
  • Green Peas
Tuesday
  • Potato Soup
  • Cornbread Muffins
Wednesday
  • Veggie Burgers on Cornmeal Waffles Cakes
  • Roasted Potato Fries
Thursday
  • Beef Vegetable Casserole (using up vegetables & sauces from the freezer)
  • Roasted Carrots
Friday
  • Leftovers

Monday, December 9, 2013

Menu Plan, December 8 - 14

     We are gearing up for another busy week in our house.  Our church has their annual Christmas Program this weekend, which includes three performances.  This year is a little unusual for me, because I am not participating for the first time in over ten years.  J.T., however, will still be there for every rehearsal and performance.  I planned our menu around his rehearsal/performance schedule.  On his busier nights, I picked meals that were very quick to prepare or already partially done.  We are looking forward to Christmas break and are ready to get these hectic weeks behind us!  

Sunday
  • Turkey & Rice Casserole
  • Roasted Sweet Potatoes, Squash, & Zucchini
  • Green Beans
  • Cherry Pie
Monday
  • Tuna Croquettes
  • Roasted Brussels and Potatoes
Tuesday
Wednesday
  • Veggie Burgers on Cornmeal Waffles Cakes
  • Sweet Potato Fries
Thursday
  • Homemade Hamburger Helper
Friday
  • Leftovers

Friday, December 6, 2013

Millet Tomato Soup


DSC07965


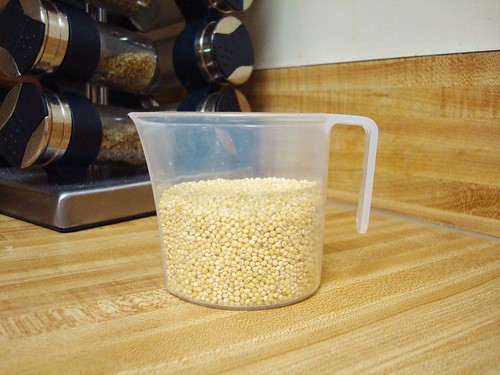
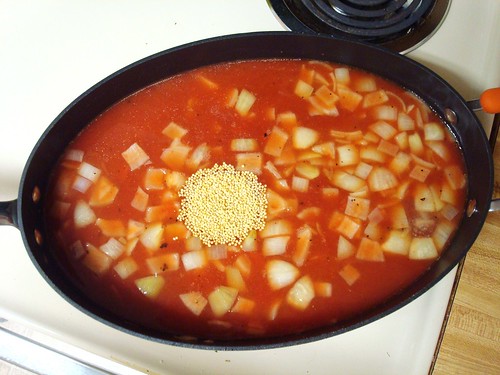
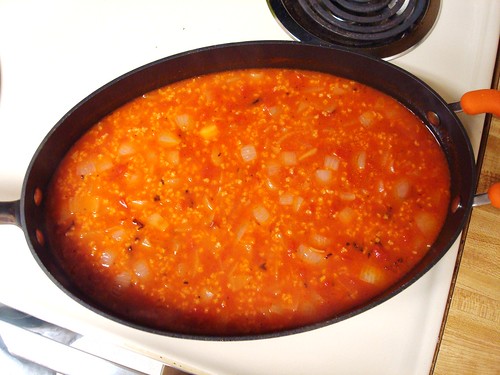
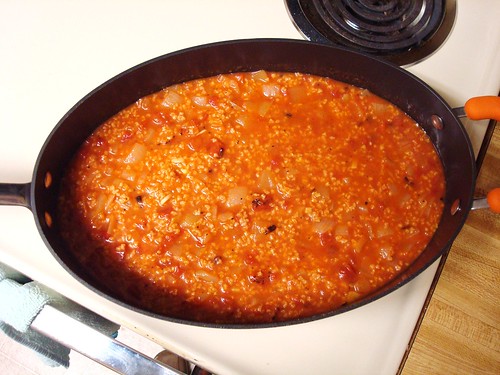
     Although my favorite tomato soup is Pappa al Pomodoro, this particular tomato soup comes in second.  I know I posted a soup recipe just over a week ago, but we are finally getting real December weather in Alabama.  Cooler temperatures scream soup and cornbread to this southern girl.  I decided to use millet in place of the pasta called for in Ina's original recipe.  Millet is a gluten-free grain the cooks relatively quickly.  I chose this grain because I knew it would thicken the soup and give it a heartier bite than rice or pasta would lend.  Although my Dad refers to millet as bird seed, it is a powerful grain that is high in both fiber and protein.  Be sure to buy Muir Glen brand tomatoes to use in this recipe (and all your recipes!).  In my opinion (this is not a paid endorsement), this is the best brand of canned tomatoes you can purchase in the grocery store.  As with many soups, I think this tastes better a day or two after it is made. Make this over the weekend and reheat for an easy weeknight meal. 


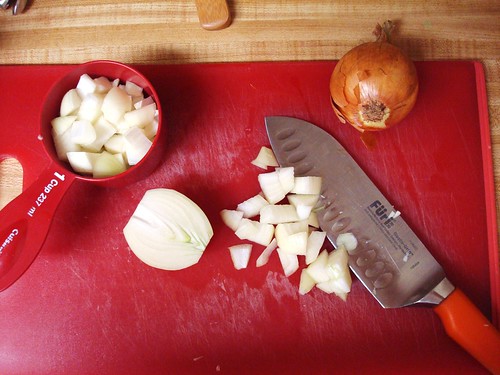
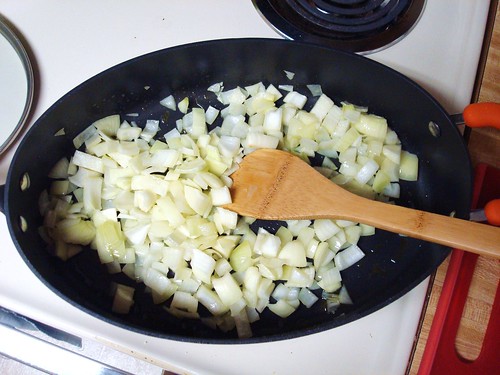
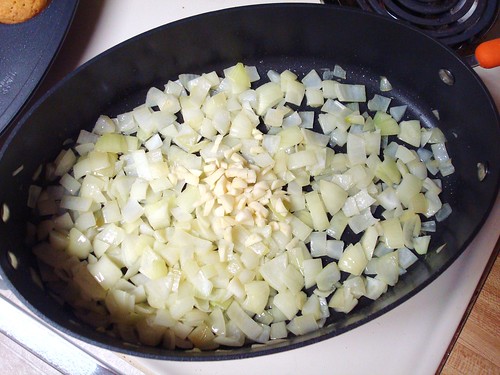
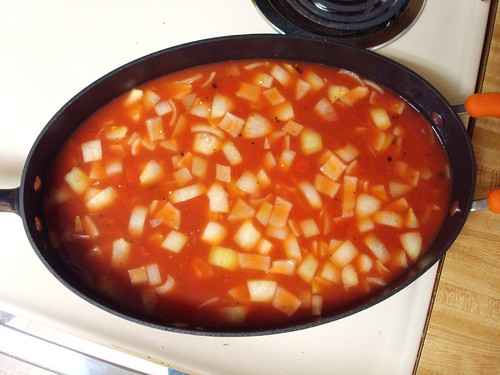
DSC07949 DSC07950 DSC07951 DSC07958 DSC07954 DSC07956 DSC07961


• 3 tablespoons extra-virgin olive oil
• 3 cups onions, chopped
• 4 garlic cloves, minced
• 2 cups chicken stock, preferably homemade
• 3 cups water
• 1 (28 ounce) can Muir Glen fire-roasted crushed tomatoes
• 2 ½ teaspoons Celtic sea salt
• 1 teaspoon coarse ground black pepper
• ½ cup millet

Directions
  1. Heat the olive oil in a large dutch oven over medium-low heat. Add the onions and sauté until translucent and golden yellow, about 15 minutes.
  2. Stir in the garlic and cook 30 seconds, or until fragrant.  Add the chicken stock, water, tomatoes, sea salt, pepper, and millet.  Bring to a boil, cover, and reduce the heat to a simmer.  Cook for 30 minutes.  Serves 5.

Make ahead:  This soup can be made in advance and heated just before serving.  Freeze up to 3 months.   

Menu Plan, December 1 - 7

     I am a week behind posting our menu plan, but Thanksgiving weekend was very busy.  We had seven people at my parents house for our annual Thanksgiving lunch.  Over the course of five days, I learned to become very flexible with my meal plan and found out quickly it could not be set in stone.  Lists and spreadsheets keep my life organized and I do not care to deviate much from "the plan."  As the holidays approach, I know plans will change over and over again, but having a rough idea always makes things a little smoother :) 

Sunday
  • Thanksgiving Leftovers
Monday
  • Slow Cooker Pot Roast
  • Roasted Potatoes
  • Green beans
Wednesday
  • Veggie Burgers on Cornmeal Waffles Cakes
  • Sweet Potato Fries
Thursday
  • Butternut Squash Soup
  • Cornbread Muffins
Friday
  • Leftovers

Wednesday, November 27, 2013

Green Pea Soup

DSC08196


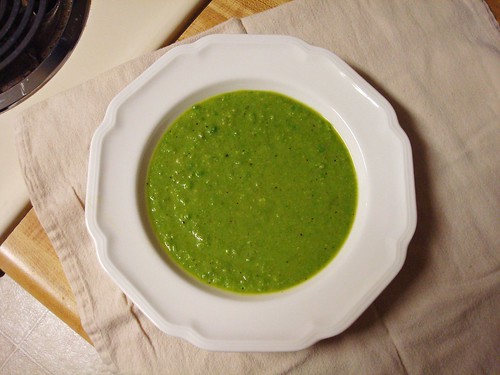
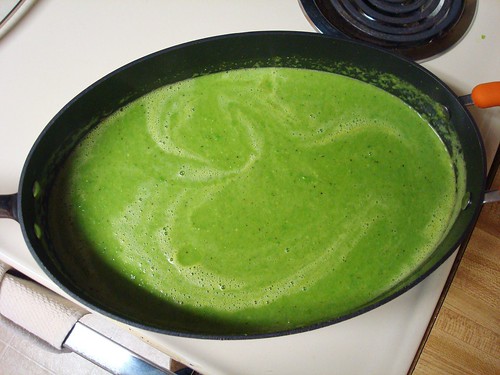
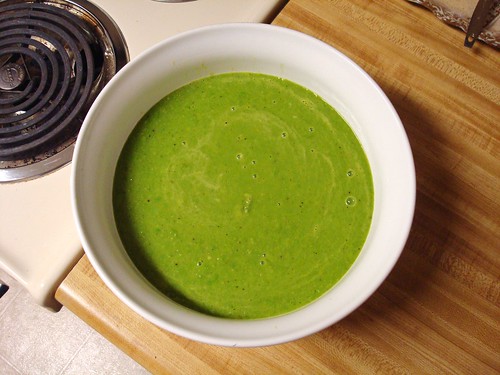
     Pea soup doesn't sound very exciting and probably wouldn't roll off the tongue of many as a favorite soup.  I will admit I was a little skeptical of pea soup, but when you can make a meal for $3.00 you begin to accept the idea of branching out.  My first trial of pea soup was just "okay" and I didn't care for it's watery consistency.  Things really changed when I decreased the liquid and increased the vegetables.  Pea soup transformed into a thick, sweet, salty, bowl of warmth, perfect for a cool winter evening.  It is one of the quickest cooking soups I have every made, plus it freezes and reheats extremely well.  

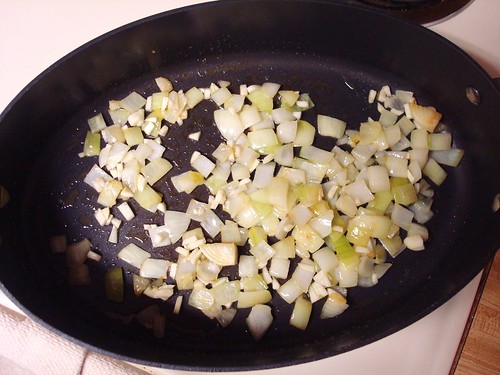
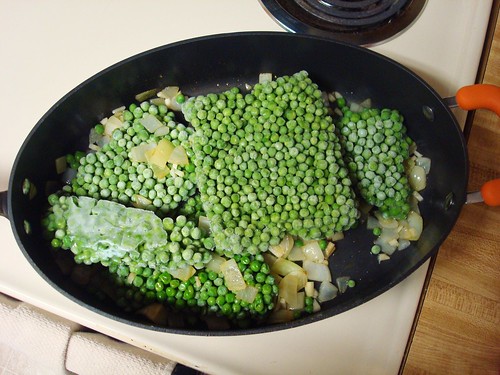
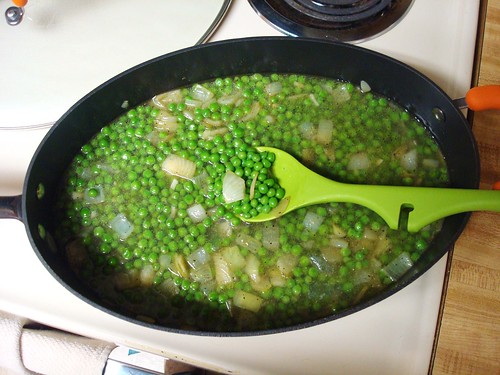
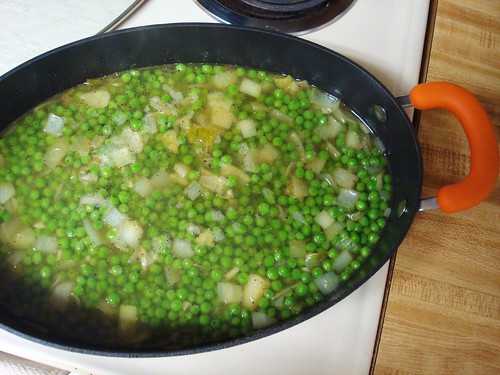
DSC08184 DSC08186 DSC08187 DSC08190 DSC08192 DSC08194


Ingredients
  • 3 tablespoons extra-virgin olive oil
  • 1 large onion, chopped
  • 4 garlic cloves, minced
  • 1 teaspoon Celtic sea salt
  • 1 teaspoon coarse ground black pepper
  • 3 (9 ounce) boxes frozen peas* (see note)
  • 2 cups chicken stock, preferably homemade
  • ½ cup water

Directions
  1. Heat the olive oil in a large sauté pan over medium heat.  Add the onions and cook until very tender, about 15 minutes.  Add the garlic, sea salt, and pepper and cook for 30 seconds, or until the garlic becomes fragrant.  Add the frozen peas, chicken stock, and water.  Bring to a boil, cover, reduce the heat, and simmer for 20 minutes.  
  2. Once the soup has cooled slightly, use an immersion blender to coarsely puree the soup.  Leaving a few whole peas in the soup will be just fine.  Serve immediately or cool slightly before refrigerating.  

*Note:  I use Green Giant brand frozen boxed steamer peas in this recipe.  The peas have salt, sugar and baking soda added.  If you choose to use plain frozen peas, you may need to increase the salt by ½ to 1 teaspoon.  Additionally, adding a ½ teaspoon of sugar will sweeten the peas.


Make ahead:  Prepare the recipe as directed above and refrigerate or freeze.  If refrigerating, reheat the soup over medium heat for 25 minutes, stirring occasionally to prevent any peas from sticking to the bottom of the pot.  If freezing, defrost completely in the refrigerator before reheating.  Refrigerate up to 5 days and freeze up to 3 months.  

Monday, November 25, 2013

Menu Plan, November 24 - 30

     The weekend always flies by and time seems to disappear.  I loved every moment I spent in the kitchen this weekend and had fun creating a few of my favorite classic dishes.  I will admit I was quite nervous about making the pop tarts, since I was attempting to make them gluten and dairy free.  Surprisingly, they turned out great and I couldn't have been happier.  They were especially fun to eat!  I hope to have the recipe on the blog soon. With this being Thanksgiving week, my feast preparation has begun.  I am looking forward to my favorite food day!

Sunday
  • Chicken Pot Pie
  • Sauteed Broccoli and Carrots
  • Homemade Strawberry Poptarts
Monday
  • Pea Soup
  • Whole Grain Corn Muffins
Tuesday
  • Veggie Burgers on Cornmeal Waffles Cakes
  • Sweet Potato Fries
Wednesday
Friday
  • Leftovers

Friday, November 22, 2013

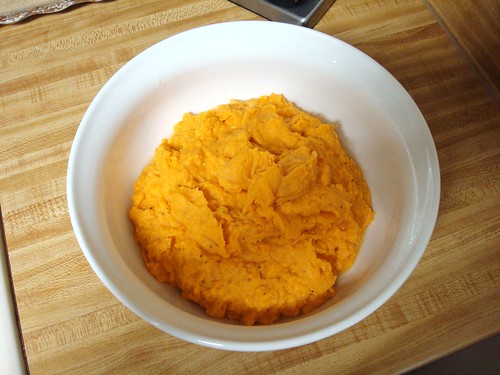
Sweet Potato Puree

DSC07637


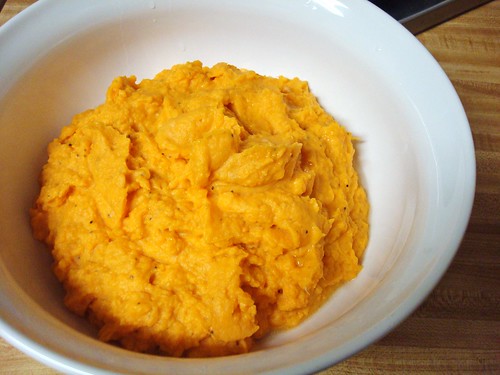
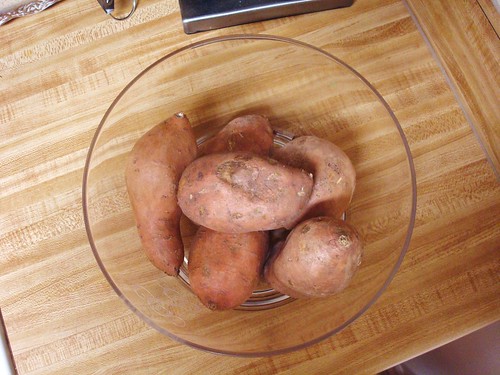
     Fall vegetables seem to be my current focus on the blog lately.  My favorite vegetable of all time, during any season, is the sweet potato.  Rachael Ray has stated many times that the sweet potato is the most nutrient dense vegetable you can purchase in the grocery store.  While I am not sure if this is 100% accurate, I certainly would like to think that she is correct.  My love for sweet potatoes developed at an early age, when my grandmother introduced me to sweet potato soufflé.  We lived far away and would travel to see her around the holidays.  It never failed that she always made her delicious sweet potato soufflé, topped with brown sugar and pecans.   As we said our goodbyes, she would hand me a small carryout container to snack on during the drive home.  Most kids like candy, chips, Little Debbie’s and various other junk foods.  I prefer the sweet potatoes and have never quit loving them to this day.  The recipe below is a variation of a recipe in Ina Garten’s latest cookbook, Foolproof.  While it isn’t my grandmother’s soufflé, it is a lighter twist on my favorite vegetable that can be served any time of the year.  


DSC07621 DSC07623 DSC07625 DSC07627 DSC07628 DSC07629 DSC07630 DSC07633 DSC07634 DSC07638


Ingredients
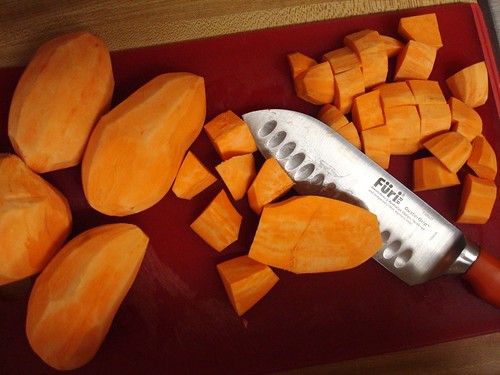
·         3 pounds sweet potatoes, peeled and cut into 1-inch chunks
·         ¾ cup almond milk
·         ½ cup coconut oil
·         ½ cup freshly squeezed orange juice
·         2 teaspoons kosher salt
·         ¼ teaspoon black pepper

Directions
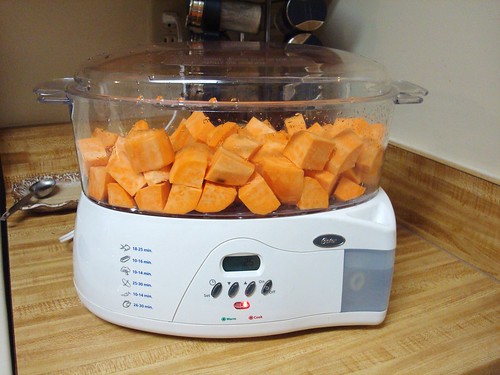
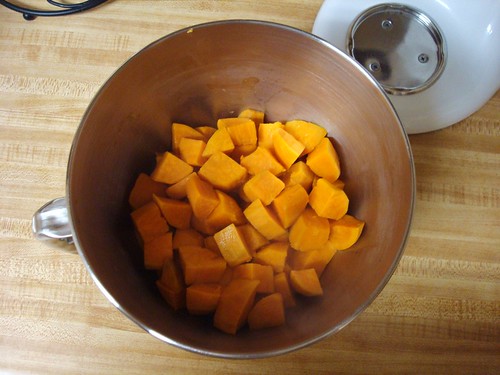
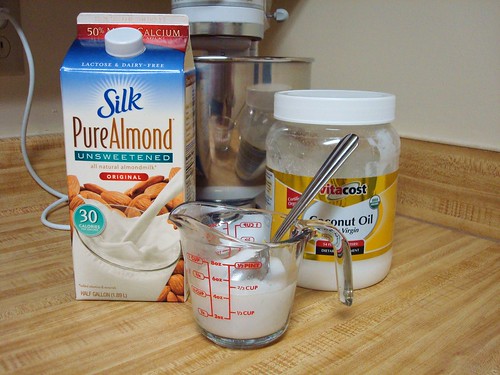
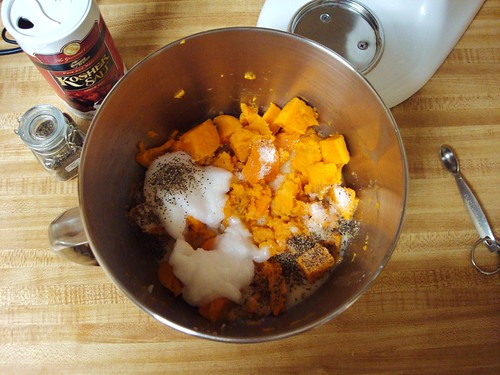
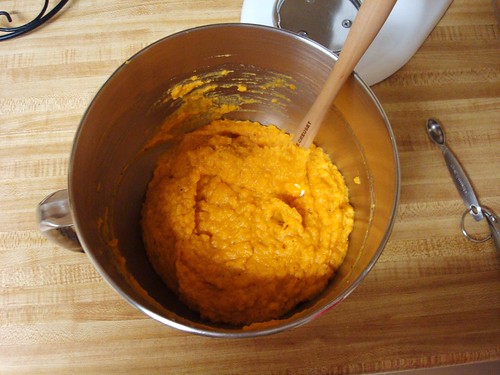
1.      Place the sweet potatoes in a steamer and steam for 25 minutes, or until very tender.  Move the potatoes to the bowl of an electric mixer fitted with a paddle attachment.  Add the almond milk, coconut oil, orange juice, salt, and pepper.  With the mixer on low, blend together for 10 minutes.  The sweet potatoes should be very smooth.  To keep warm or to reheat, place the sweet potato puree in a bowl over a pot of simmering water.  Yields 6 servings.  


Sunday, November 17, 2013

Menu Plan, November 17 - 23

You may begin noticing a trend with my weekly menu plans.   Trends such as:

  1. I normally serve soup on Monday night during the fall/winter. 
  2. We always have veggie burgers on cornmeal waffle cakes with some form of vegetable "fry" on Wednesday night.  We have to eat by 5:45 on Wednesday nights, because J.T. has to leave for church at 6:15.  I do not arrive home from work until 5:15, so most of this meal must be done in advance.  About once a month, I make the veggie burgers in large batches of 16, which provides each of us with 4 lunches and 4 suppers.  I freeze the burgers in batches of 4 and defrost them overnight in the refrigerator, the night before I plan to serve them.  The cornmeal waffle cakes, which serve as our bread, are made in advance too and I always have a batch of these in the freezer.  The vegetable fries are prepared by my wonderful husband.  I lay out all the ingredients, the utensils, and the recipe before I go to work.  J.T. prepares the recipe and pops the fries into the oven, since he gets home from work earlier than me.  When I arrive home, I put the veggie burgers and waffle cakes onto a sheet pan and they go into the oven for 10 to 15 minutes.
  3. We always have waffles and eggs on Friday night.  After a full week at work, I am pooped and love having something easy and fun for supper.  I make the waffles in advance and freeze them.  When I arrive home from work, I pull the waffles out of the freezer, slather them with peanut butter, and pop them into the oven for 10 minutes.  J.T. fixes the eggs and dinner is served.  This by far our favorite meal of the week. 

Sunday
  • Shepherd's Pie
  • French Lentils
  • Popovers
Monday
  • Potato Soup
  • Cornbread Muffins & Popovers
Tuesday
  • Tuna Croquettes
  • Roasted Potatoes & Carrots
Wednesday
  • Veggie Burgers on Cornmeal Waffle Cakes
  • Baked Sweet Potato Fries
Thursday
  • Mini Meatloaves
  • Rosemary White Beans
Friday
  • Peanut Butter Waffle Sandwiches
  • Fried Eggs
Saturday 
  • Leftovers


Friday, November 15, 2013

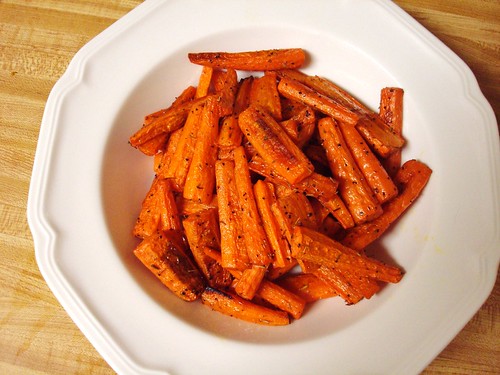
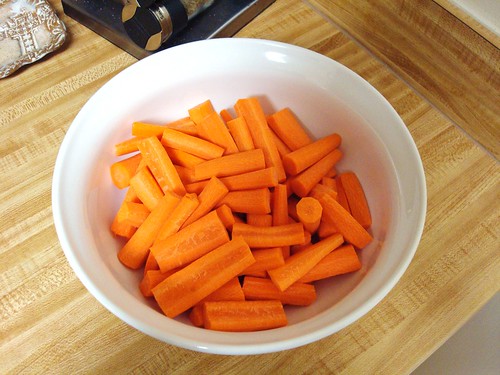
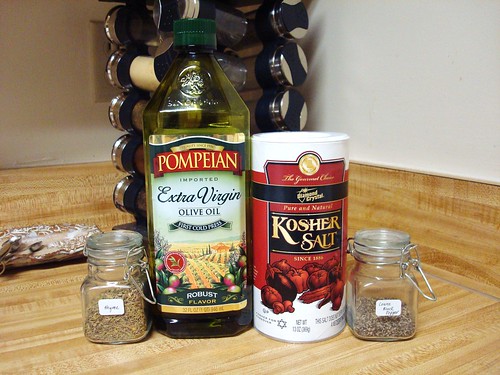
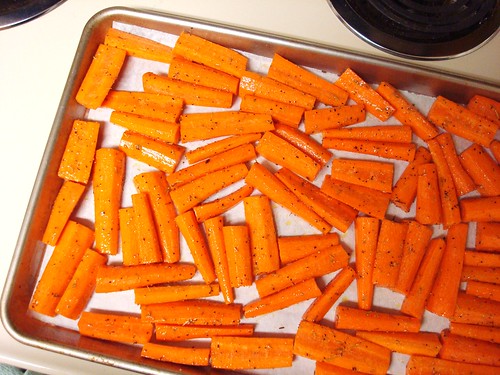
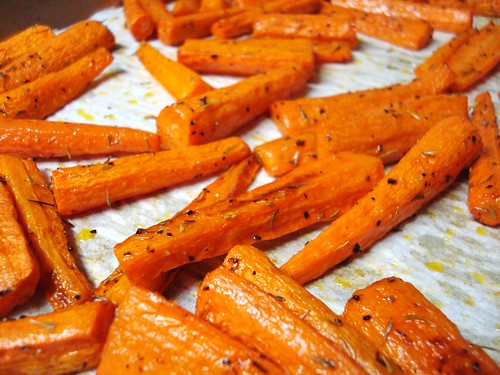
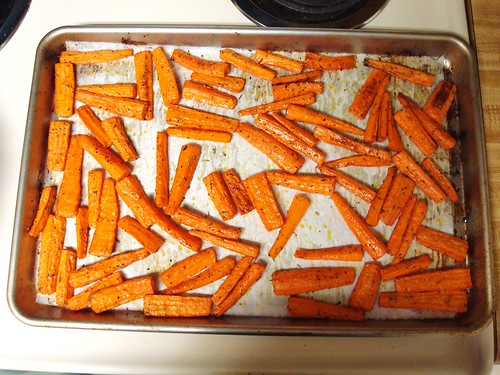
Thyme Roasted Carrots

DSC07988


          As we discussed last week, many root vegetables are too often overlooked and under served at the family dinner table.  Carrots are perfectly wonderful to serve all year around, not just at your annual holiday meal.  In fact, you can actually grow carrots all year, in your own backyard, without waiting on one particular season.  If you have picky eaters (both adults and children) who shun the carrot and think it taste like rabbit food, introduce them to the roasted carrot, also known as vegetable candy.  Carrots are the perfect roasted root vegetable.  I mentioned last week that roasting concentrates the flavor of the vegetable and caramelizes its natural sugar content. Carrots naturally contain greater amounts of sugar, and roasting this vegetable only magnifies its sweetness.  I have made these carrots for many, and some can tell no difference between the roasted carrot and the roasted sweet potato.   Try something new next week for dinner and make an effort to add roasted carrots to your upcoming meal plan.


DSC07968 DSC07970 DSC07973 DSC07975 DSC07978 DSC07983 DSC07985


Ingredients
·         2 pounds carrots, peeled, halved, and cut into 2 to 3 inch chunks
·         2 tablespoons extra-virgin olive oil
·         ½ teaspoon dried thyme
·         1 ¼ teaspoons kosher salt
·         ½ teaspoon coarse ground black pepper

Directions
1.      Preheat the oven to 400 degrees and line a sheet pan with parchment paper.
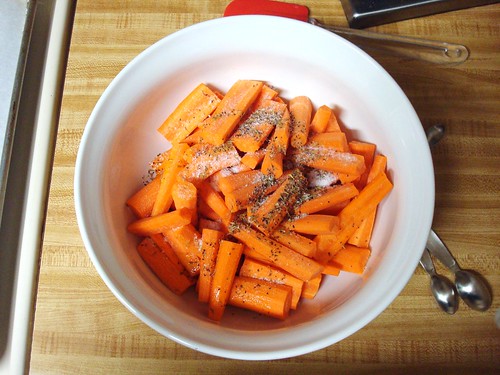
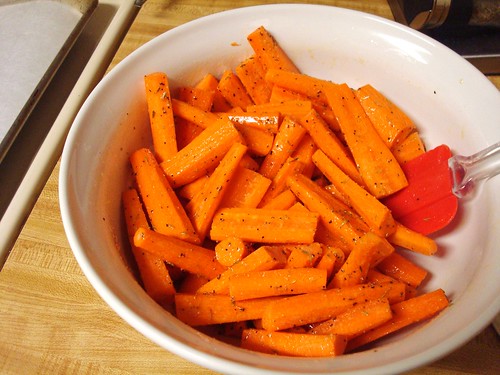
2.      In a medium sized bowl, toss together the carrots, olive oil, thyme, salt, and pepper.  Spread the carrots in one even layer onto the prepared baking sheet.  Roast for 45 to 50 minutes, flipping once, until the carrots are nicely browned.  Serves 4.  


Tuesday, November 12, 2013

Menu Plan, November 10 - 16

     Since I do not post my weekly grocery store trips anymore, I thought it would be helpful to post my weekly menu plan instead.  Many bloggers have a weekly post titled "Menu Plan Monday."  My weekly plan always begins on Sunday, because this is technically the first day of the week.  While this may be a bore for some readers, it will be helpful when I am in a pinch to come up with a meal.   Personally, I think it is interesting to see what other people eat on a daily basis.  I am the girl starring at everyone else's grocery cart wondering what they people feed their family.  Although it is a few days late, here is the plan for the week:

Sunday
Monday
  • Veggie Burgers on Cornmeal Waffle Cakes
  • Baked Sweet Potato Fries
Thursday
  • Mini Meatloaves
  • Slow Cooker Lima Beans
Friday
Saturday
  • Leftovers from the week

What are you having for dinner this week?  

Friday, November 8, 2013

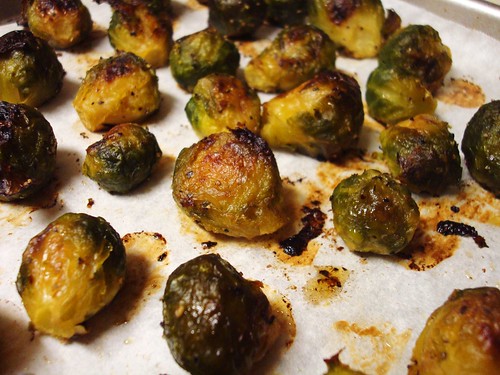
Roasted Brussels Sprouts

DSC07909


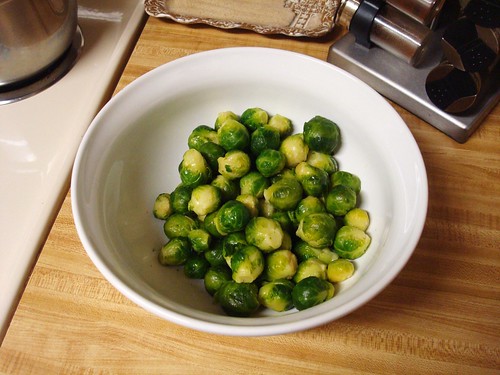
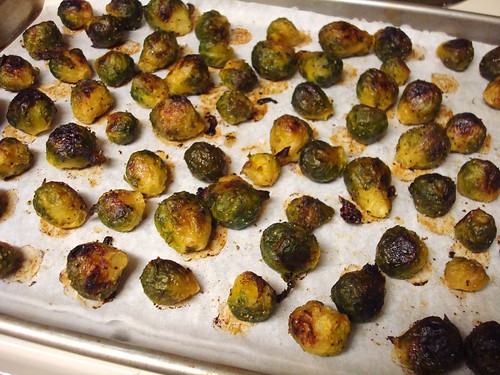
     Fall is here and this means my obsession with roasted root vegetables, hearty vegetable soups, and one pot casseroles can begin.  I realize many of you think brussels sprouts are disgusting and you grew up feeding these miniature, mushy cabbages to the dog (who probably spit them out).  I would argue that brussels - roasted until the skins turn golden brown - are a delicious, salty, vegetable gem that is sadly overlooked at the weekly dinner table.  My husband hated brussels sprouts until I made these.  I wasn't particularly fond of them myself, considering I had only eaten them boiled or steamed.  Most any vegetable roasted on a tray in the oven, with olive oil and salt, will turn out wonderful.  Why?  Roasting concentrates the flavor of the vegetable and caramelizes it's natural sugar content.  Roasted carrots, butternut squash, and potatoes are favorites in our family.  Always watch the oven carefully during the last 10 minutes of cooking.  Vegetables can burn quickly!  My husband actually prefers his blackened, while I like mine golden brown.  


DSC07886 DSC07888 DSC07889 DSC07891 DSC07898 DSC07908


Ingredients
·         1 ½ pounds brussels sprouts (I normally use frozen and defrost them overnight in the fridge)
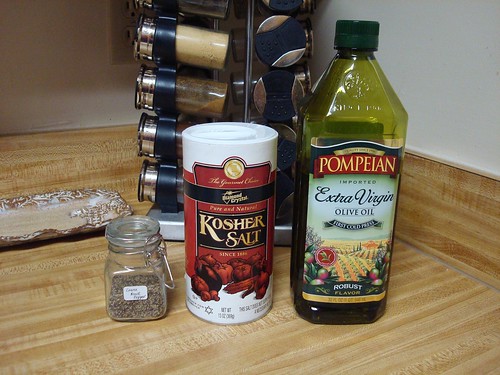
·         2 tablespoons extra-virgin olive oil
·         1 ¼ teaspoons celtic sea salt
·         ½ teaspoon coarse ground black pepper

Directions
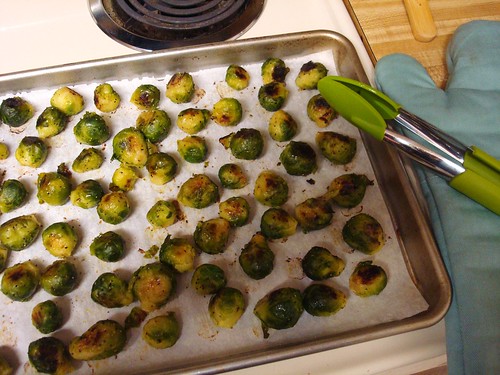
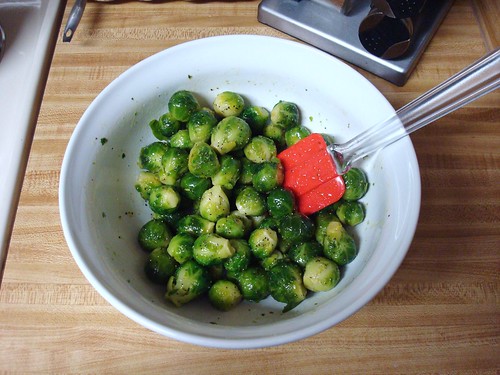
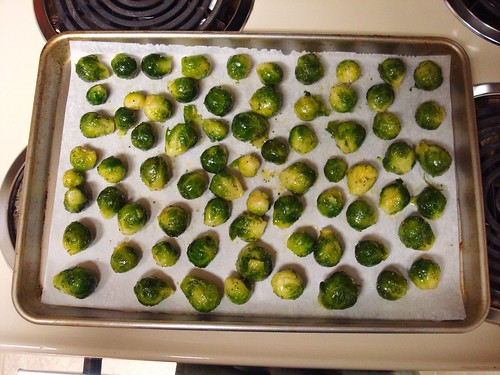
1.      Preheat the oven to 400 degrees and line a large sheet pan with parchment paper.  In a medium sized bowl, lightly toss together the brussels, olive oil, salt, and pepper.  In one even layer, spread the brussels onto the prepared sheet pan.  Make sure they are spaced apart because this ensures that the brussels brown and do not steam.  Roast for 45 minutes, flipping once after 25 minutes.  Serves 5.  

Thursday, October 24, 2013

A self taught cook

    On May 10, 2010, I began my cooking blog journey and it is amazing to look back and see how my cooking skills have matured.  Three years ago, I didn’t deter away from a recipe and I followed it to a tee.  Today I don’t normally use recipes and I make up most of what is cooked in our kitchen.  It is either a VERY loosely adapted recipe or it is made up completely from what I have on hand.  I have learned that once you understand the basic techniques, such as roasting vegetables or browning a roast, and learn how to truly develop flavors your cooking will go from amateur to Ina Garten.  Here are a few tips to becoming a self-taught cook:


  1. Use Salt.  Proper seasoning can make the difference between a superb meal and an average meal.  Use a good quality salt such as sea salt or kosher salt, but NEVER use cheap iodized table salt.  Learn how much salt certain dishes need.  I normally use a ½ - ¾ of teaspoon of sea salt per pound of vegetables or 3 teaspoons per pound of rice.  Always season each layer of the meal and taste and adjust the seasoning once the final dish is complete.  Remember, you can always add more salt but you cannot take it back out!
  2. Fat equals flavor.  Don’t be afraid to use fat when you cook!  Our bodies actually need fat and it helps keep us full longer.  Forget boneless skinless chicken and boneless pork chops.  They normally don’t carry much flavor and end up tasting dry.  Learn to cook bone-in skin on meat.  You will save money and your food will taste better.  Embrace healthy fats when preparing vegetables or grains.  I normally use a tablespoon of olive oil or coconut oil per pound of vegetables.  Fat helps caramelize and concentrate flavor.
  3. Cook with aromatics: onions, garlic, carrots, celery and herbs.  Onions, garlic and herbs go into practically every dish I make.  Carrots and celery are often added to grains, beans, and other dishes where I would like to increase the vegetable content or stretch the dish to feed a few more people.  Do not worry about picky taste buds.  If cooked properly, the flavor will meld into one.  My husband hates carrots and celery, but he never notices if I add it to soup, a pot of beans, or a rice pilaf.  
  4. Never buy instant anything.  Rice, oats, potatoes, grits, coffee, etc. all taste better in their real form.  Although it may take longer to prepare, it will be well worth your time and it will save you money.  There is no comparison between instant rice and regular rice or instant potatoes and real potatoes.  If you are always short on time, try to plan ahead.  Brown rice takes about an hour to cook and you may not have a full hour to get dinner on the table.  Cook your rice the day before, while you are preparing dinner and eating.   
  5. Use canned foods sparingly.  The only canned foods I purchase are Muir Glen tomatoes, Muir Glen tomato paste, and green beans.  Canned tomatoes are used mainly for marinara sauce and soup, while tomato paste is used primarily in meatloaves or to thicken sauces.  I have tested many brands and in my opinion Muir Glen tomatoes are the best you can buy.  My husband loves southern, boiled to death, canned green beans.  I always purchase an organic variety and we eat them very rarely.  
  6. Cook with dried beans.  When given the option between using canned beans or dried beans, always use the latter.  Dried beans are superior to canned beans because they are more flavorful, cheaper, and easier to prepare, so do not be afraid. This leads me to point number seven…
  7. Learn to love your slow cooker.  The slow cooker is the master of dried beans - no soaking required.  Beans prepared plain (just beans) can be tossed in, covered with water and cooked on high for 2 ½ to 3 hours.  For a big pot of beans to come home to for supper (seasoned and ready to eat), toss in a bag of beans, 5 ½ cups of water, aromatics (see point #3), fat (see point #2), and cover.  Cook on low for 6 hours.  It will stay on warm until you arrive home from work, which will finish cooking the beans without turning them to mush.  Remember that slow cookers are not just for beans and can be used to make marinara sauce, soup, pot roast, applesauce, and much more.  
  8. Steam in the bag vegetables are gross, especially the ones covered in sauce.  Let’s be honest, steamed vegetables are not very good and normally taste like watery mush.  All vegetables taste much better if they are roasted or sauteed in salt and fat (see points #1 & #2).  If you are short on time, saute your vegetables.  This should take anywhere from 10 to 15 minutes.  If you have 30 to 45 minutes, toss the vegetables in oil and salt, spread on a baking sheet, and roast at 400 degrees.  Your vegetables will taste much better and your taste buds will thank you.  
  9. Recipes proclaiming to take 15, 20, or 30 minutes will taste like they took 15, 20, or 30 minutes.  I am not a big believer in a meal that can be prepared from scratch in 30 minutes, but I do believe that dinner can be on the table in 30 minutes if you plan ahead.  Flavors need time to develop and to sit and mingle among one another.  If you are serving a soup or casserole, make it the day before you plan to eat it.  While you are waiting on one meal to reheat, chop vegetables or do other meal preparation for the next night.  Over the weekend, make items that can easily be frozen (soups, meatballs, muffins, waffles, marinara sauce, chicken stock).  Pulling items out of the freezer is a time saver, because most of the work has already been done for you.
  10. Don’t be afraid to experiment or improvise.  If you don’t have every single ingredient a recipe lists, be open to substituting the items that you do have in your pantry or the items that are most affordable for your budget.  I have never purchased a leek, but this has not stopped me from making a recipe that uses one.  I often substitute onions for leeks or sweet potatoes for regular potatoes.  Vinegar is still vinegar even if it is not white champagne vinegar.  It is okay to use the regular old white distilled vinegar or old fashioned apple cider vinegar.  Use whatever spices or herbs you do have in your cabinet or growing outside in your garden.  Have fun basking in the deliciousness of your creativity!  

Saturday, October 12, 2013

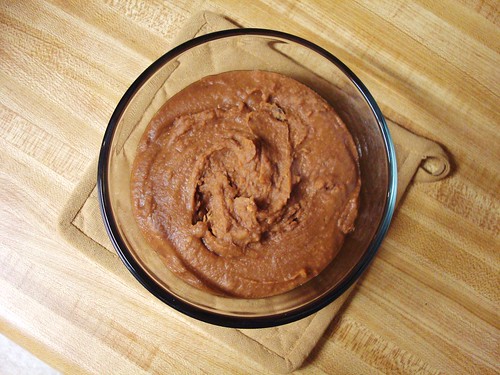
Refried Beans


DSC08179


     J.T. loves Mexican food, but I only prefer to eat it occasionally and when it is prepared in my own kitchen.  I look back and laugh about our first few months of dating.  I knew J.T. loved hot and spicy Mexican flavored foods, so I threw hot sauce, chili powder, cumin and paprika into practically every dish I made.  He loved it but I grew tired of all that spice!  About a month ago, we celebrated his 29th birthday (for the 7th time J) and he requested homemade Mexican food.  I settled on a menu of Beef Tacos with Refried Beans.  In my own health conscious brain, I decided the refried beans would count as our vegetable for the evening.  Many people associate Mexican food as cheap food.  While it is one of the cheaper meals to purchase at a restaurant, it can be quite pricy to prepare at home.  All the fresh ingredients – tomatoes, lettuce, peppers, onions, avocados, etc. – can really add up at the grocery store.  Beans, refried beans to be exact, are always an economical choice in our kitchen.  I often tell J.T. we would starve to death if it were not for beans. 


A little side note – I actually photographed and edited the photos listed below this past February.  I photographed a lot before I began working full time, because I knew I would not be able to continue to keep up with the blog.  It has taken me this long to perfect my refried bean recipe.  My other big project right now is my cookbook.  It may never become published, but I love working on it.  As Julia Child would say “cook bookery” is difficult business.  The countless hours it takes to test recipes and write are not for the weary, but I love it and hope to make a career from it one day.  I can always dream…


DSC07077 DSC07081 DSC08162 DSC08166 DSC08168 DSC08170 DSC08171 DSC08173 DSC08176


Refried Beans

Serves 6
slow cooker

Ingredients
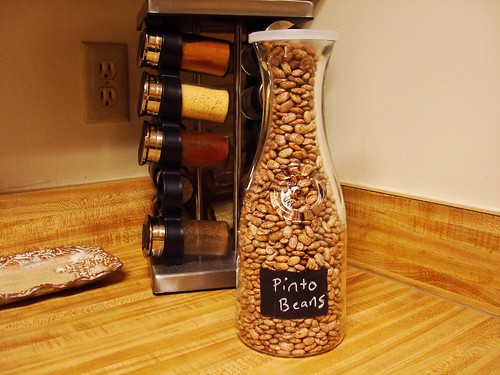
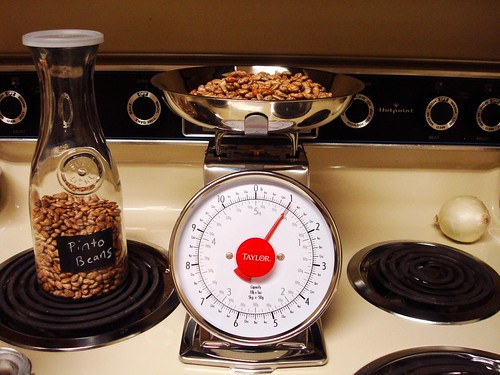
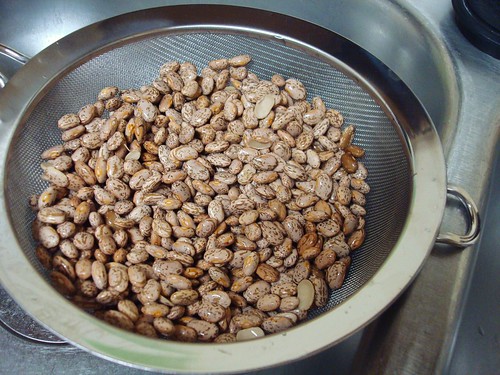
  • 1 pound pinto beans, rinsed and drained
  • 1 medium onion, chopped
  • 6 garlic cloves, minced
  • 2 jalapeno peppers, seeded and finely diced
  • 3 tablespoons extra virgin olive oil
  • 1 tablespoon chili powder
  • 1 tablespoon cumin
  • 1 tablespoon paprika
  • 3 teaspoons celtic sea salt
  • 1 teaspoon coarse ground black pepper
  • 5 ½ cups water


Directions
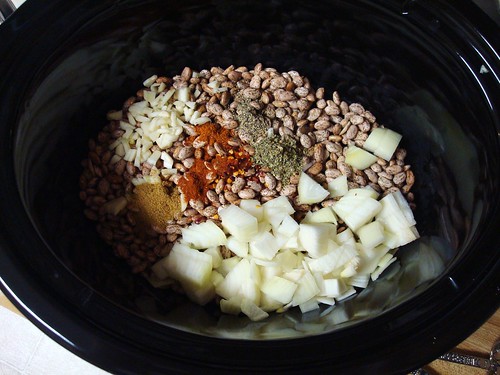
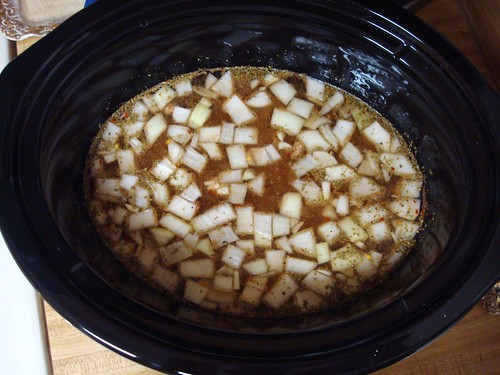
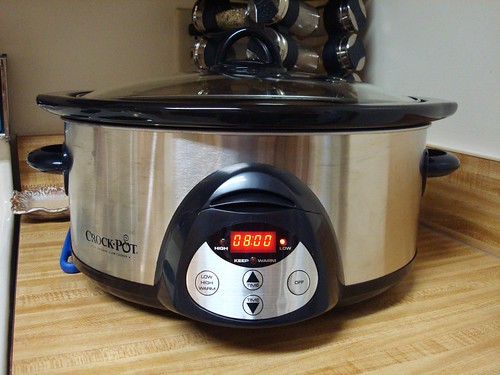
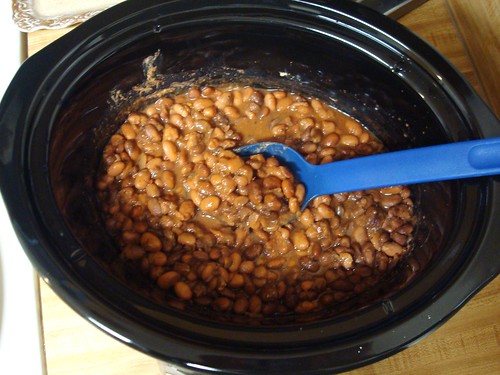
  1. Combine the pinto beans, onion, garlic, jalapeno peppers, olive oil, chili powder, cumin, paprika, sea salt, pepper, and water in a slow cooker.  Cover and cook on low for 8 hours.
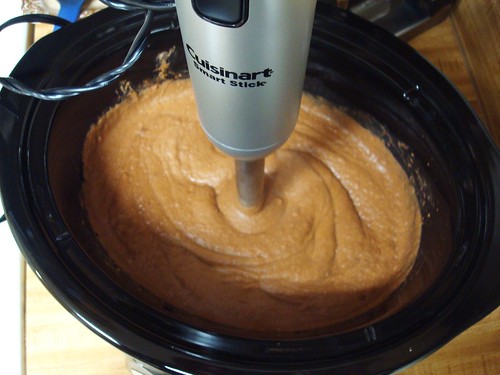
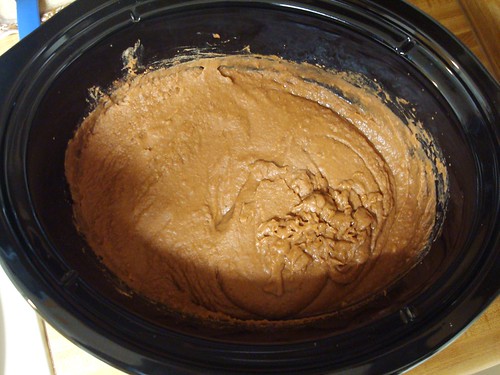
  2. Use an immersion blender to puree the beans before serving.  


Make ahead:  After pureeing, transfer the beans to a large casserole dish.  Reheat, uncovered, in a 350 degree oven for 30 minutes.  The beans can also be frozen.  Cool completely overnight in the refrigerator before transferring to freezer safe containers.  Freeze up to 3 months.